Trying out a Docker project in AWS
This article details the steps you need to do in order to have a static web project running in a Docker container in AWS.
Kalle Tolonen
Aug. 30, 2022
Requirements
- Debian 11
- Docker installed
- AWS account
- Account on Dockehub
Busybox image
First, let’s pull the Busybox image and check that we have it.
sudo docker pull busybox
sudo docker images
The listing shows hello-world and busybox.
$ sudo docker images
REPOSITORY    TAG       IMAGE ID       CREATED         SIZE
busybox       latest    7a80323521cc   4 weeks ago     1.24MB
hello-world   latest    feb5d9fea6a5   11 months ago   13.3kB
Testing out the container and more
Containers are a lot like VM’s (Virtual Machines), but a lot faster. We can try this out by testing a command in our container.
sudo docker run busybox echo "This is a container saying hello fren"And the print suggests that the test provided the desired outcome.
$ sudo docker run busybox echo "This is a container saying hello fren"
This is a container saying hello fren| Command | Outcome | Etc |
|---|---|---|
| docker ps -a | List of containers that have been executed | |
| docker run -it imagename sh | Open an interactive CLI | All normal Linux commands work here |
| docker container prune | Deletes all the exited containers | |
| docker rmi imagename | Deletes images |
#sudo docker ps -a

$ sudo docker ps -a
CONTAINER ID   IMAGE         COMMAND                  CREATED          STATUS                      PORTS     NAMES
9fd72104dfa9   busybox       "echo 'This is a con…"   5 minutes ago    Exited (0) 4 minutes ago              nervous_dhawan
ab9623b6437b   hello-world   "/hello"                 10 minutes ago   Exited (0) 10 minutes ago             vibrant_golick
324517ba9330   hello-world   "/hello"                 5 hours ago      Exited (0) 5 hours ago                busy_mahavira
#sudo docker run -it busybox
/ # ls
bin dev etc home proc root sys tmp usr var
/ # uptime
11:26:12 up 2 days, 4:36, 0 users, load average: 0.00, 0.03, 0.07
/ # whoami
root
/ # #sudo docker container prune
WARNING! This will remove all stopped containers.
Are you sure you want to continue? [y/N] y
Deleted Containers:
51614197de89c41d6680c5a0c181c3f2488d66631e652e0ab57bda572f35c891
e40040361a405cace90f7e26f31dea1160470cf09ca2f76ae1729a34a5a5d8a1
9fd72104dfa99658cb17072d18bbb4ddf8d18853dd1848d1db6ac7e6ff3d4b31
ab9623b6437b6cc6381dad3bf32a02d96d1770891734e7afcd5ae55c6ba4c517
324517ba93303a3126f94bd06969ae3ff377eba0ffa302069d27a84cf3d8257e
Total reclaimed space: 31B#sudo docker rmi busybox
Untagged: busybox:latest
Untagged: busybox@sha256:ef320ff10026a50cf5f0213d35537ce0041ac1d96e9b7800bafd8bc9eff6c693
Deleted: sha256:7a80323521ccd4c2b4b423fa6e38e5cea156600f40cd855e464cc52a321a24dd
Deleted: sha256:084326605ab6715ca698453e530e4d0319d4e402b468894a06affef944b4ef04Pulling a static website demo and running it
The original source of this material has kindly offered a static website container, so we’ll use it.
docker run -d -P --name static-site prakhar1989/static-siteSince the image is hosted on the Docker site, you can easily access it - just like Git and Github! The flags are as follows:
-d = detached terminal, ie. you can close the terminal and the container keeps on chooching
-P = publishes the ports for the container
--name = you can give a name to the container
To check the ports, you should run:
sudo docker port static-site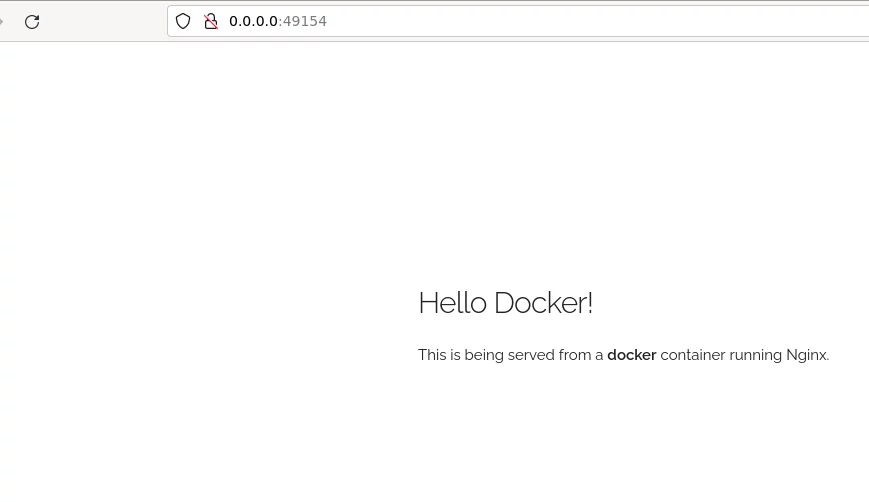
Deploying this to production would be as simple as installing the container and running it on a server.
Cloning a git repo and turning it into a Docker image
To do that, we need a Dockerfile. It’s just a plaintext file in the folder that we cloned the repo into.
cd
git clone https://github.com/prakhar1989/docker-curriculum.git
cd docker-curriculum/flask-app
micro Dockerfile
FROM python:3.8
# set a directory for the app
WORKDIR /usr/src/app
# copy all the files to the container
COPY . .
# install dependencies
RUN pip install --no-cache-dir -r requirements.txt
# tell the port number the container should expose
EXPOSE 5000
# run the command
CMD ["python", "./app.py"]To make the image you should type:
sudo docker build -t yourusernameondocker/yourdesiredimagename .The process takes a while, so don’t be impatient.
Sending build context to Docker daemon  8.704kB
Step 1/6 : FROM python:3.8
3.8: Pulling from library/python
1671565cc8df: Pull complete
3e94d13e55e7: Pull complete
fa9c7528c685: Pull complete
53ad072f9cd1: Pull complete
d6b983117533: Pull complete
d8092d56ded5: Pull complete
842ab464ad01: Pull complete
324d52c9d2a7: Pull complete
0fe75fbcdfb7: Pull complete
Digest: sha256:7b72fe8ab313d9b48755f1350fa2a42c723a80e6bf7beb5e03b801e5405ecb15
Status: Downloaded newer image for python:3.8

...#Removed lines

Successfully built 57b216f8cab0
You can verify the process by checking the result out.
sudo docker imagesThe listing should have your brand new image at the top.
REPOSITORY                TAG       IMAGE ID       CREATED         SIZE
kalletolonen/testycat     latest    57b216f8cab0   3 minutes ago   923MB
To further verify actual demo funcitonality, you can run the container.
sudo docker run -p 8080:5000 kalletolonen/testycat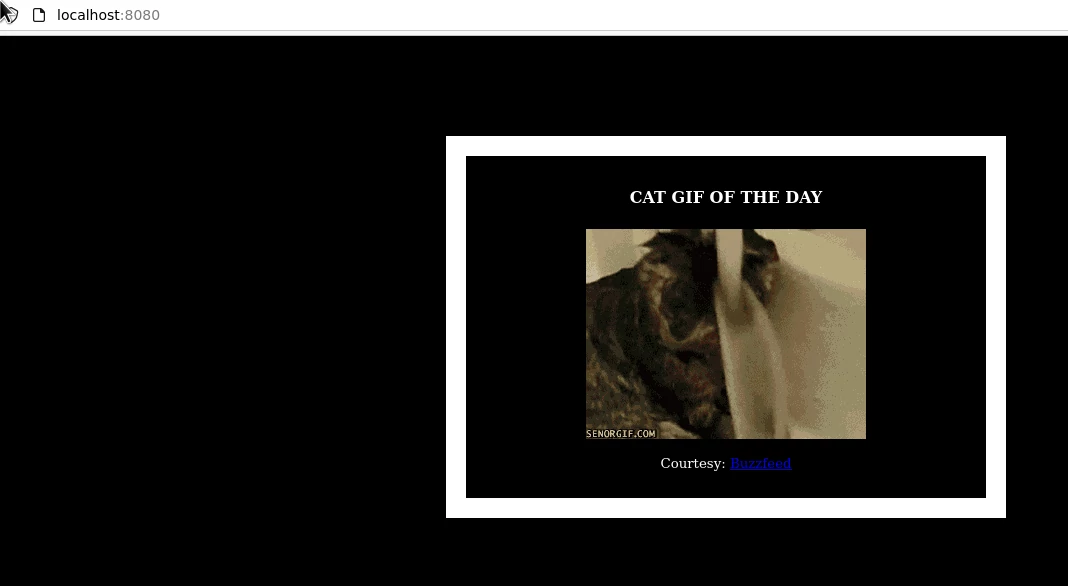
Image to Docker Hub
Docker Hub and AWS can be linked, so that’s the way we’re going to couple our container to AWS.
sudo docker loginAfter entering the correct credential, you’ll get a confirmation.
Login SucceededAfter that, it’s time to push the image to Docker Hub.
sudo docker push kalletolonen/testycat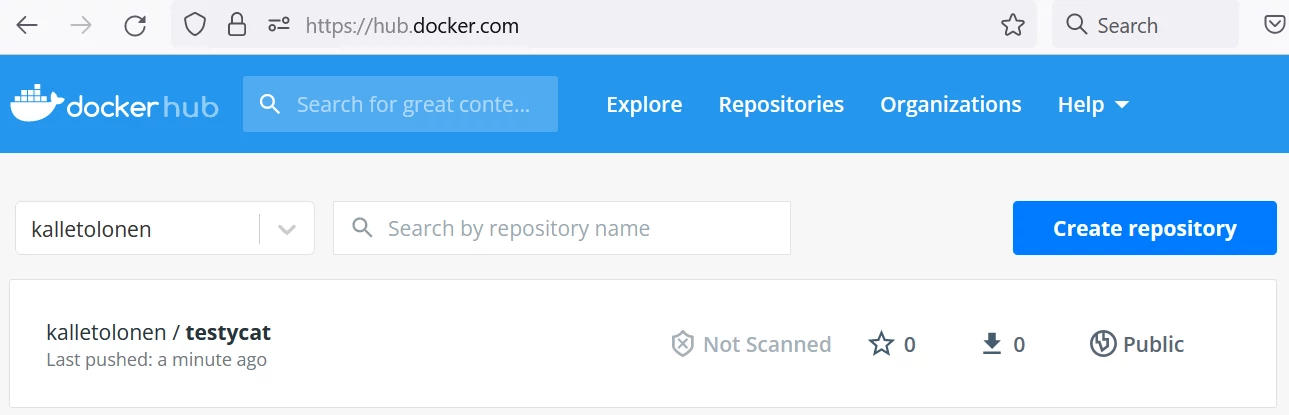 My push went as expected
AWS Elastic Beanstalk setup
- Search for Elastic Beanstalk on the AWS web interface
- Create Application
- Upload Dockerrun.aws.json as a source from flask-app folder
{
  "AWSEBDockerrunVersion": "1",
  "Image": {
    "Name": "kalletolonen/testycat",
    "Update": "true"
  },
  "Ports": [
    {
      "ContainerPort": 5000,
      "HostPort": 8000
    }
  ],
  "Logging": "/var/log/nginx"
}
I edited to Name to my spec.
- click Create Environment
- Try it out
- Delete the environment to avoid extra charges
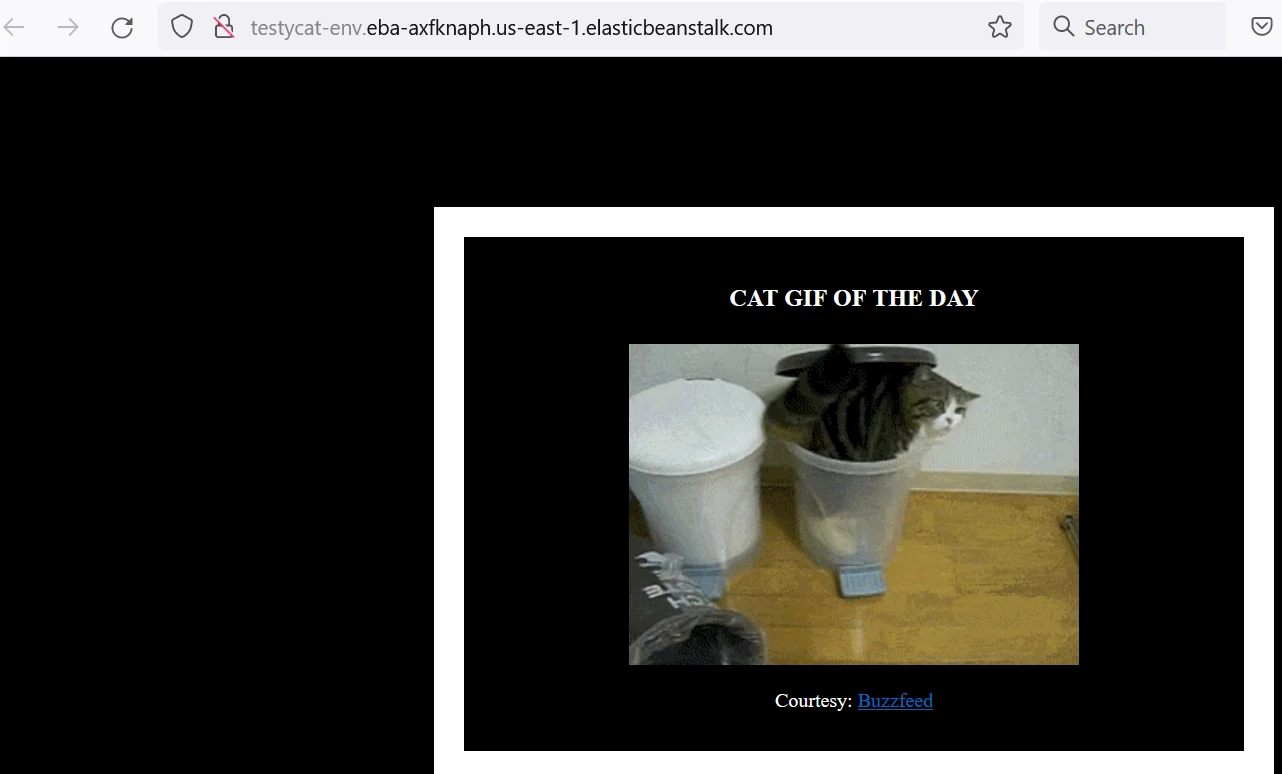
Working Docker contained app in AWS
Source(s)
Comments
No published comments yet.
Add a Comment
Your comment may be published.